To paint a wall and achieve an optimal result, it’s important to follow some basic steps that will help you prepare the surface before applying the paint effectively. Here we detail how:
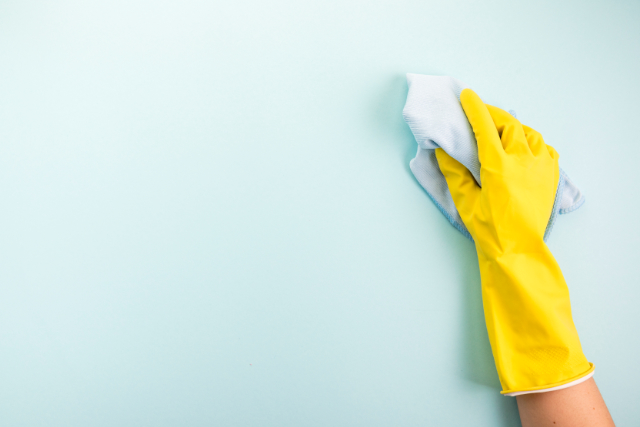
1. First, we will proceed to clean the surface using a surface cleaner to remove any dust, grease, or dirt that may be on the surface, leaving it prepared and ready for the next step.
2. Next, if the wall has holes or cracks, they should be filled with leveling compound, allowed to dry, and then sanded until achieving the desired smooth surface.
3. If the wall is deteriorated, use a putty knife to remove loose remnants of old paint until reaching a firm base. Once finished, apply a primer diluted in 4 parts water to ensure good adhesion with the type of paint to be applied.
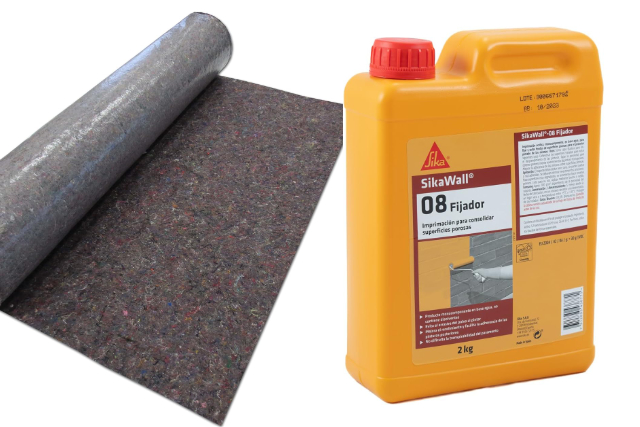
4. We will protect the floor with felt or plastic floor coverings that cover everything. For door frames, baseboards, electrical outlets, switches, and windows, we will use painter’s tape to prevent any paint residues from staining them. There are usually several models of painter’s tape available, with varying levels of adhesion to ensure no damage upon removal. We recommend choosing the tape with the lowest adhesion to keep the wall intact.
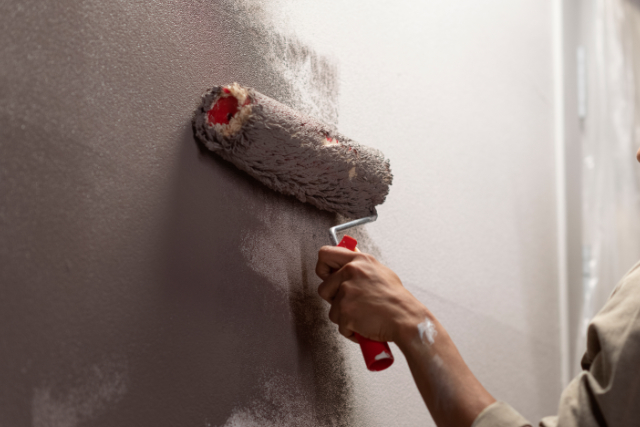
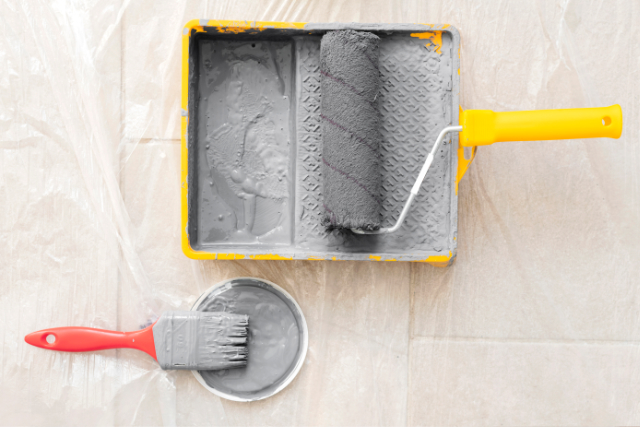
5. Finally, we will proceed with the application of paint. The most common type is acrylic paint, suitable for both interior and exterior use, which can be diluted by 5% with water for the first coat and applied undiluted thereafter. If painting exclusively outdoors, we would use exterior paint, known for its waterproof and breathable qualities.